
Run the bread test first. Cover a wire rack completely with bread slices, bake them for 8 to 10 minutes at 350°F, then compare how each slice browned. The pattern points straight to the real cause: a failing heating element, a drifted temperature sensor, blocked airflow, an unlevel oven, a weak convection fan, or occasionally a worn door gasket.
Key takeaways
- The bread test maps hot and cold spots in minutes and narrows down the real cause before anything gets replaced
- A heating element that glows unevenly, or doesn’t glow at all in sections, is one of the most common causes
- A drifted temperature sensor can make the whole oven run hotter or cooler than the display shows, even when nothing looks visibly wrong
- Blocked airflow, an overcrowded rack, or an oven that isn’t level can mimic a real component failure
- A worn door gasket is a real but less common cause, and it’s worth ruling out, not assuming
- Appliance Gasket quotes one exact price after getting your oven’s brand and model, with a $75–$95 diagnostic fee credited toward your repair, and offers same-day service across DC, Maryland, and Northern Virginia
- Call (202) 200-8501 for a model-based quote
Check for hot spots first: the bread test
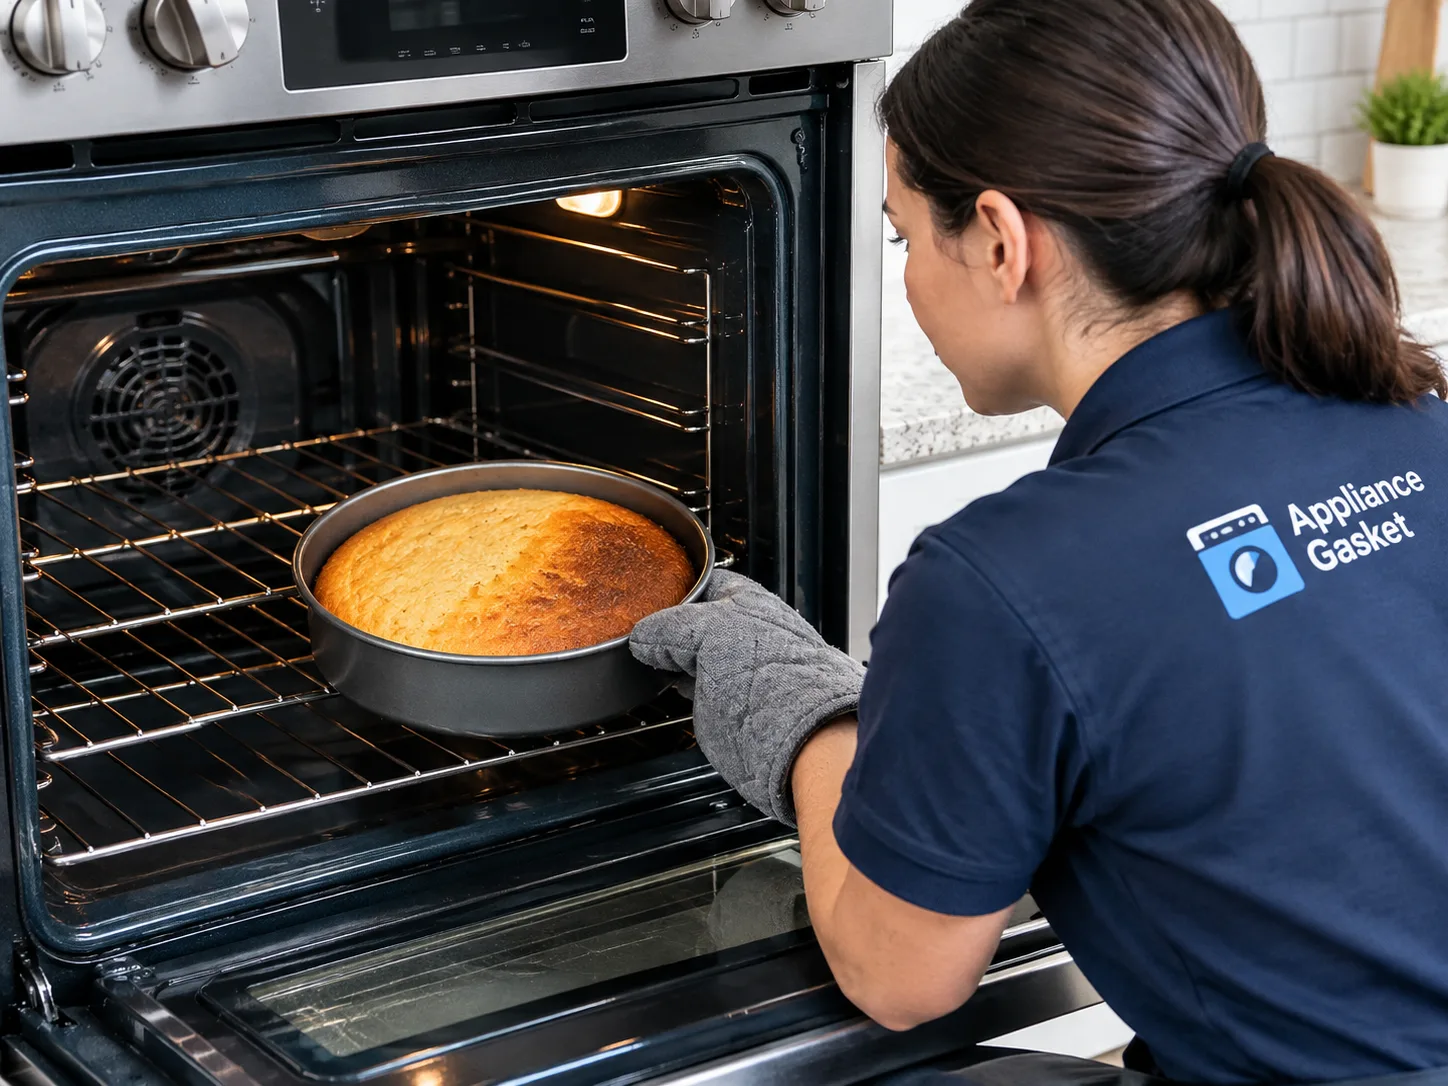
Preheat the electric oven to 350°F, cover a wire rack completely with bread slices, bake for 8 to 10 minutes, then pull the rack and compare how each slice browned. Darker slices mark hot spots, lighter ones mark cold spots, and the pattern tells you where to look next before you replace anything.
Run it this way, in order:
- Preheat the oven to 350°F with the rack in the center position.
- Cover the entire rack edge to edge with bread slices, leaving no gaps.
- Bake for 8 to 10 minutes without opening the door.
- Pull the rack and lay the slices out in the same order they were in the oven.
- Compare browning. Even color across every slice means heat is distributing normally. Dark edges with a pale center, or one side consistently darker than the other, point to a specific cause below.
A ring of dark slices around the outer edge with a pale center usually means the heating element is working but not glowing evenly end to end. A diagonal pattern, with one corner consistently darker, often points to a sensor that’s reading hot or cold on one side of the cavity. Slices that brown fine near the door but stay pale toward the back can mean blocked airflow or a fan that isn’t moving air the way it should. Keep the test result in mind as you work through the causes below, since it narrows down which section actually applies to your oven.
Signs it’s the heating element
A bake element that doesn’t glow evenly from end to end, or doesn’t glow at all across a section, is one of the most consistently reported causes of uneven electric oven baking. Look for visible cracks, blisters, or blistered spots on the coil, and watch whether the whole element turns the same shade of red-orange during preheat or whether part of it stays dark.
KitchenAid’s own troubleshooting guide advises examining exposed bake and broil elements for visible signs of wear, like breaks or blisters, since a damaged element heats the cavity unevenly even while it’s technically still working. If the element in your electric oven is hidden behind a panel rather than exposed, you won’t be able to inspect it directly, and that’s a sign the check needs a technician rather than a visual look.
Food baked near the dark section of the element typically comes out underdone while everything else finishes on time, which matches the bread test showing a cold zone in roughly the same spot. An element that’s cracked or arcing is also a safety issue, not just a baking one, so it’s worth having it checked promptly rather than working around it with longer bake times.
Signs it’s the temperature sensor or calibration
An oven that runs consistently hotter or cooler than its display, with food finishing early or late across the whole cavity rather than in one spot, points to a sensor or calibration problem rather than a hot-spot problem. This is different from the bread test’s spot-by-spot pattern: a sensor issue usually shows up as everything on the rack browning at roughly the same rate, just faster or slower than the recipe calls for.
The temperature sensor is a thin metal probe, usually mounted in the back or top corner of the cavity, and its position matters more than people expect. KitchenAid notes that even small shifts in the sensor’s placement can throw off heat distribution, and repositioning it back to its proper angle against the oven wall can resolve the issue on its own. If the sensor looks correctly placed and the oven still runs off, a calibration adjustment or a sensor replacement is the next step.
An oven thermometer placed in the center of the cavity is the most reliable way to confirm a drift, since it compares the real temperature against the set point directly instead of relying on the display. If the thermometer reads 25 degrees off or more from what the dial says, that’s a strong sign the sensor or calibration, not the heating element, is the actual problem.
Signs it’s airflow, rack position, or an unlevel oven
Foil lining the oven floor or racks, an overcrowded oven with pans blocking air circulation, food placed on the wrong rack, or an oven that isn’t sitting level can all cause the same uneven baking results as a real component failure, without anything actually being broken. These are worth ruling out first, since fixing them costs nothing.
Foil on the oven floor is a common habit for catching spills, but it blocks the exact airflow path the oven uses to circulate heat, which creates cold pockets in predictable spots. Pulling the foil and running the bread test again is the fastest way to confirm whether that’s the issue. Crowded racks cause a similar problem: pans set too close together, or stacked on racks that are too near each other, block hot air from reaching the food in between, and the gap between dishes matters more than most people assume.
An oven that isn’t level tilts the heat pattern across the cavity in one consistent direction every time, which shows up as the same side of every dish underbaking regardless of what’s being cooked. A short level, checked against the oven floor, confirms this in under a minute, and most ranges have adjustable feet that correct it without a service call.
Signs it’s the convection fan
On convection-equipped electric ovens, a fan that doesn’t spin, doesn’t move air at the rear vents, or runs noticeably quieter than it used to will stop heat from circulating evenly, which shows up as a difference between convection bake results and regular bake results on the same oven. This cause only applies if your model has a convection setting. A standard bake-only electric oven doesn’t have this part, so skip this section if that’s what you own.
Listen for the fan during a convection cycle. A healthy fan has a steady, consistent hum, and you should feel moving air near the rear vent when the oven door is opened briefly during a cycle. A fan that’s stalled, cycling on and off unpredictably, or silent altogether means convection mode isn’t actually circulating heat, even though the elements are still firing normally, which is why food cooked on a convection setting can turn out worse than the same food baked on a standard setting on the same oven.
Could it be the door gasket?
A worn or torn door gasket can let heat escape near the top of the door, which leaves that area cooler while the rest of the oven overworks to compensate, but this is a less common cause of uneven baking than the heating element or the sensor. It’s worth ruling out, not assuming, especially if the bread test shows a cold zone specifically near the door rather than spread across the cavity. If that’s the pattern you’re seeing, our guide to checking an oven door gasket with the paper test walks through the full diagnostic in detail.
Repair or replace: what uneven baking is actually costing you
Uneven baking isn’t just inconvenient. It usually means the oven is working harder in some areas to compensate for a real fault, and ignoring it long enough can turn a simple element or sensor swap into a bigger repair. An electric oven that’s cycling an element longer to make up for a cold spot, or running a sensor correction that’s masking a bigger drift, is putting extra wear on parts that were otherwise fine.
The repair-or-replace decision usually comes down to two things: the oven’s age and whether the fault is a single, inexpensive part or something tied to the control board. A heating element or a temperature sensor are both contained, well-defined repairs on most electric ovens, and replacing one of them on an oven that’s otherwise working well is almost always worth it. An oven that’s already had multiple component failures, or one where the control board itself is misreading temperature rather than a sensor being out of position, is a different calculation, especially on an older unit nearing the end of its typical service life.
Rotating a dish halfway through baking, or adjusting bake times by feel, treats the symptom every time instead of the cause once. A technician diagnosis identifies which specific part is actually at fault, which is usually a smaller cost than letting an oven run inefficiently for months or waiting until a minor fault turns into a bigger one.
The bottom line
Run the bread test first, since it’s free and takes about ten minutes. Match the pattern to the most likely cause: the heating element, the temperature sensor, airflow or rack position, the convection fan, or occasionally the door gasket. Once it’s clear which part is actually at fault, Appliance Gasket quotes one exact price after getting your oven’s brand and model, with a $75–$95 diagnostic fee credited toward your repair, and offers same-day service across DC, Maryland, and Northern Virginia.
Get your electric oven diagnosed in DC, MD & VA
If the bread test and the checks above don’t give you a clear answer, the safest next step is a technician diagnosis rather than replacing parts by guesswork. Send your oven’s brand, model, and ZIP code and Appliance Gasket will quote one exact price with a $75–$95 diagnostic fee credited toward your repair, with same-day appointments available across Washington DC, Maryland, and Northern Virginia.
If your bread test pointed to the door rather than the element or sensor, our oven losing heat and door gasket guide covers that diagnosis step by step. For anything involving the heating element, sensor, or convection fan, Appliance Gasket’s wall oven repair service covers electric wall oven diagnosis and repair directly. If you’d rather talk through what you’re seeing before booking anything, reach out through our contact page and we’ll walk through it with you.
Appliance Gasket
Phone: (202) 200-8501
Email: Ilhamfraidoon@gmail.com
Address: Fairfax City, VA 22031
Serving Washington DC, Maryland & Northern Virginia
Frequently asked questions
Q1: Is rotating pans during baking a real fix, or just a workaround?
It’s a workaround, not a fix. Rotating a pan partway through baking can even out browning if the oven has a localized hot or cold spot, like a weak section of the heating element, but it does nothing for a sensor that’s reading the whole cavity’s temperature wrong, since that problem isn’t tied to one spot. If rotating helps with browning but the oven still runs noticeably hot or cold on an oven thermometer, that points to calibration rather than a spot problem, and no amount of rotating will correct it.
Q2: Can a bad door gasket really cause uneven baking?
Yes, though it’s one of the less common causes. A gasket that’s worn or torn near the top of the door lets heat escape right at that spot, which cools the area nearest the leak while the rest of the oven works harder to compensate. This often shows up as the edge of a dish closest to the door finishing lighter than the rest of the pan, even when the center of the oven bakes normally. A paper test at the door checks this directly, and it’s worth running if the bread test shows a cold zone specifically near the door rather than spread across the cavity.
Q3: Is it worth repairing an older electric oven with this problem, or should I replace it?
It comes down to the specific part, not just the oven’s age. A heating element or temperature sensor swap is a contained, inexpensive repair and almost always worth doing, even on an older oven that’s otherwise running fine. The harder case is a control board fault or several failed parts at once, since a control board replacement starts to close the gap with the cost of a new oven, and most technicians weigh the repair cost against a replacement at that point rather than going by age alone.
Q4: Can an oven’s temperature be off even if everything else seems fine?
Yes. A sensor or calibration drift doesn’t need any other symptom to be present. The oven can turn on, run a full cycle, and show no error code while still holding a temperature that’s noticeably off from what the display says, and baking results are usually the first real sign something’s wrong. That’s why an oven thermometer placed in the center of the rack is worth checking occasionally, even when nothing else seems off.
Q5: Why does food cook differently depending on which rack I use, even without overcrowding?
Rack position changes how close food sits to the heating elements and how much hot air moves around it, even with nothing else in the oven. The center rack usually gives the most even results because it sits furthest from both the top broil element and the bottom bake element, while a rack set too high browns tops faster and one set too low can leave the bottom of a dish darker than the top. This is a layout difference built into every electric oven, not a sign that anything is broken, and it’s worth testing a dish on the center rack before assuming a bigger problem.
Q6: Does the hidden or lower heating element in a double oven cause different problems than the visible one?
Yes, and it can be harder to diagnose. In many double ovens, the lower or rear cavity’s heating element sits behind a panel rather than being exposed, so the visual check used on a single visible element isn’t possible, and a failing hidden element often only shows up through the bread test or a thermometer rather than a direct look. If one cavity in a double oven bakes evenly while the other doesn’t, that’s a strong sign the problem is isolated to one element or sensor in that cavity rather than something affecting the whole unit.